Suggest a new activity

This site is protected by reCAPTCHA and the Google Privacy Policy and Terms of Service apply.

Report a bug

Optional, 1 image up to 5 MB.

This site is protected by reCAPTCHA and the Google Privacy Policy and Terms of Service apply.

Report an error in this activity

This site is protected by reCAPTCHA and the Google Privacy Policy and Terms of Service apply.

Perler Bead Crafting

Perler Bead Crafting

Min number of participants 1
Age 8+ yrs.
Safety support by adult Not required
Min duration 30 min.
Cost Low
Environment Indoor / Outdoor

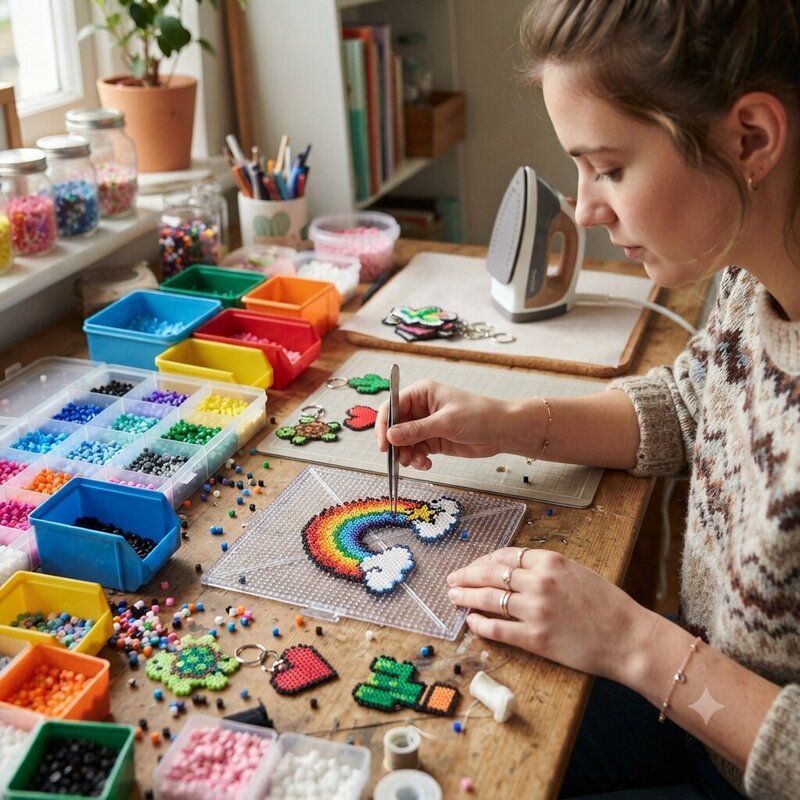
Arrange tiny colorful beads on a pegboard to form a pattern, then fuse them together with an iron to create a keepsake or keychain. A focused, satisfying craft that rewards patience and careful color choices.

The Essentials

Steps

  • Place beads onto the pegboard following a pattern or your own design, pressing each one down firmly so it sits flat and doesn't shift during ironing.
  • Cover the finished design with ironing paper before applying heat, since ironing directly on the beads melts them unevenly and can damage both the iron and the pegboard.
  • Iron in small, continuous circular motions rather than pressing down in one spot, since holding the iron still in one place melts the beads unevenly and can burn through the paper.
  • Let the fused design cool completely on the pegboard before removing it, since lifting it while still warm causes the soft plastic to warp or the beads to separate from each other.

Tips

  • Melt just enough to fuse the beads together while keeping their center holes visible, since over-ironing closes the holes and makes the design look melted rather than crafted.
  • Flip the design over and iron the back lightly as well for extra durability, since fusing both sides makes the final piece far less likely to crack or separate later.
  • Sort beads by color into a divided tray before starting, since digging through a mixed pile slows down placement and increases the chance of grabbing the wrong color mid-pattern.
  • Press a piece of parchment paper or a heavy book on top of the design immediately after ironing while it's still warm, since this keeps the piece perfectly flat as it cools instead of curling at the edges.

Safety Tips

  • Always have an adult handle the iron when children are involved in the craft, since the iron's surface stays hot enough to cause burns for several minutes after use.
Activities

Similar activities (see all)

Report an error in this activity

This site is protected by reCAPTCHA and the Google Privacy Policy and Terms of Service apply.

Tokaido

Tokaido

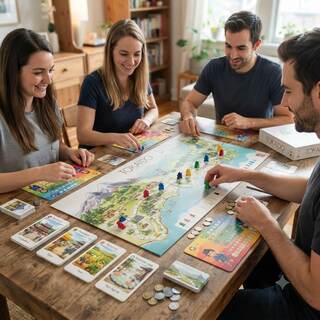
Travel the ancient Tokaido road from Kyoto to Edo, stopping at inns, hot springs, temples, and panoramas to collect encounters and score the most diverse and fulfilling journey.

Report an error in this activity

This site is protected by reCAPTCHA and the Google Privacy Policy and Terms of Service apply.

Model Making

Model Making

Assemble detailed scale kits of aircraft, ships, or cars using glue and paint — model making develops patience, fine motor precision, and spatial understanding while producing a display-worthy finished piece.

Report an error in this activity

This site is protected by reCAPTCHA and the Google Privacy Policy and Terms of Service apply.

App Idea Sketching

App Idea Sketching

Grab paper and pencil to sketch out screens, buttons, and features for an app idea of your own — a fun way to practice planning, problem-solving, and design thinking without needing any coding skills.