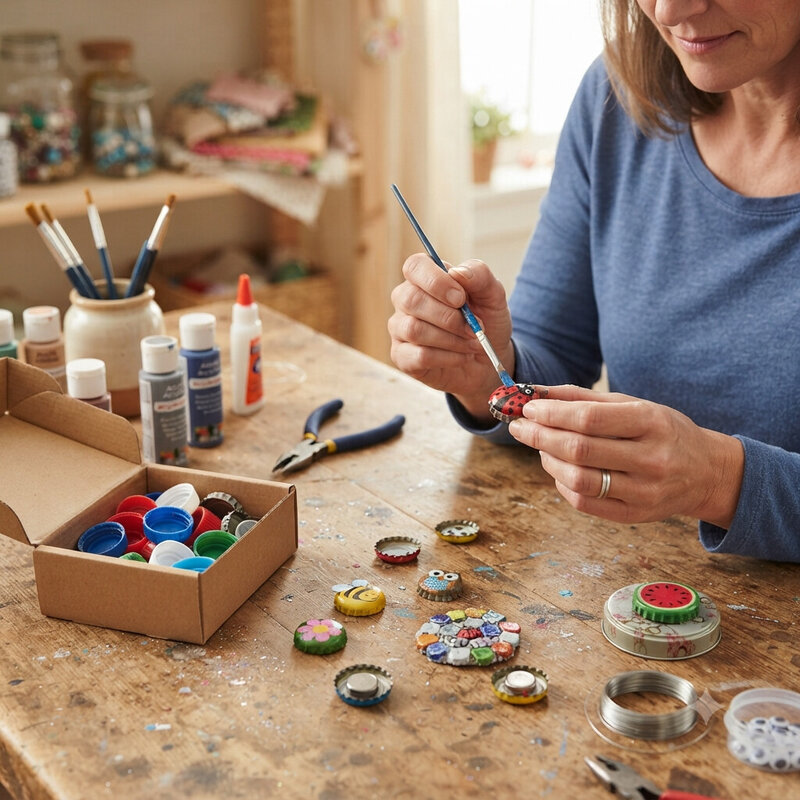
Wash and dry caps thoroughly before starting any project, since leftover sugar or residue from drinks attracts ants and other insects once the finished craft sits around the house. Flatten the crimped edges with pliers if your project needs a smooth surface, such as for magnets or jewelry, since the natural ridges around a cap's edge make it wobble or sit unevenly when glued flat against another surface. Use a strong adhesive like E6000 or hot glue rather than school glue or tape, since caps are metal or hard plastic and lightweight glues don't bond well enough to survive regular handling. Sand down any sharp or rough edges left from cutting or bending a cap, since these edges can cut skin, especially on projects intended for kids. Drill or punch holes before painting or decorating a cap, since the metal can crack or the design can be ruined if you try to add a hole afterward. Test paint or marker on the underside of a cap first, since some cap coatings resist regular paint and cause it to peel off after drying instead of bonding to the surface.